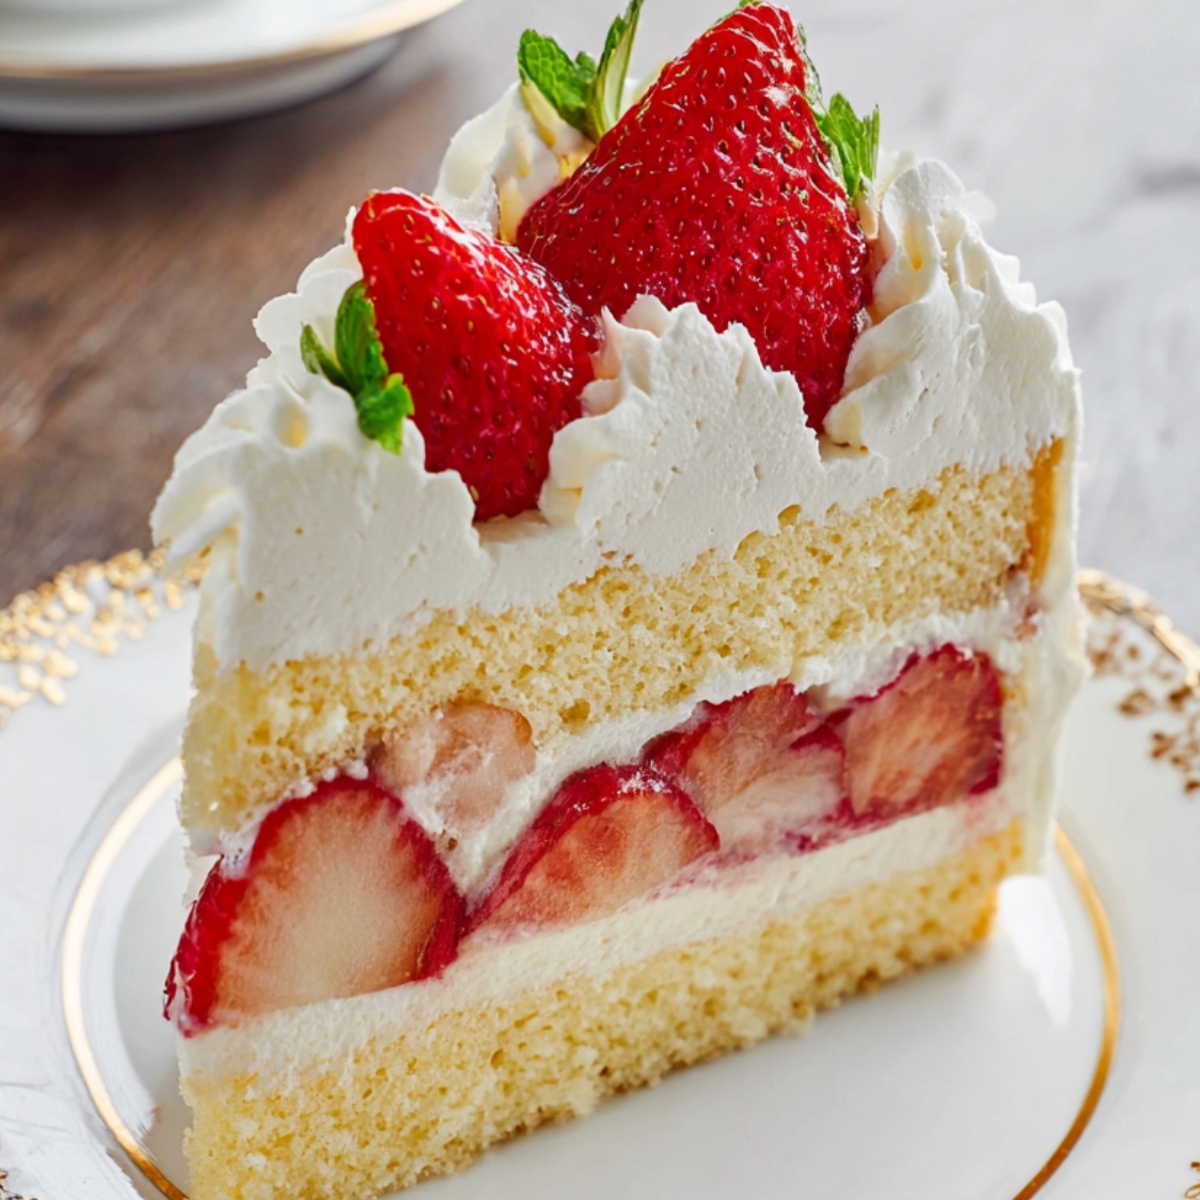
This fluffy Japanese Strawberry Shortcake is everything a celebration cake should be: soft, cloud-like sponge layers brushed with sweet syrup, billowy whipped cream, and fresh strawberries tucked between every bite. I first tasted this cake at a tiny bakery in my neighborhood, and I couldn't stop thinking about how light it felt compared to the dense American versions I grew up with. It's surprisingly easy to make at home, and the genoise sponge comes together with simple ingredients you probably already have.
If you love delicate desserts, you'll also want to try my Easy Shortbread Cookies Recipe | Ready in 35 Minutes for a buttery treat, or my Easy flan recipe mexican for something equally silky and sweet. And if you're in the mood for breakfast cake, my Easy belgian waffle recipe has that same airy, homemade charm.
Why You'll Love This Japanese Strawberry Shortcake Recipe
This Japanese Strawberry Shortcake is the kind of dessert that makes people pause mid-bite. The texture is so soft and airy, it almost melts on your tongue. The whipped cream is fluffy and not overly sweet, and the fresh strawberries add a pop of color and natural sweetness. It's a showstopper that doesn't require fancy skills or hard-to-find ingredients. The genoise sponge might sound intimidating, but once you get the hang of warming the eggs and beating them to ribbon stage, it's actually pretty forgiving. This cake is light enough to enjoy after a big meal, beautiful enough to serve at a party, and simple enough to make on a random weekend when you just want something special.
Jump to:
- Why You'll Love This Japanese Strawberry Shortcake Recipe
- Japanese Strawberry Shortcake Ingredients
- HOW TO MAKE Japanese Strawberry Shortcake
- Substitutions and Swaps
- Equipment FOR Japanese Strawberry Shortcake
- How to Store Japanese Strawberry Shortcake
- Expert Tips
- FAQ
- Related
- Pairing
- Japanese Strawberry Shortcake
Japanese Strawberry Shortcake Ingredients
Here's everything you need to make this light and fluffy cake.
See Recipe Card Below This Post For ingredient Quantites
Genoise Sponge Cake
- Eggs : These create the structure and airiness of the sponge. Warming them helps the batter whip up tall and fluffy.
- Granulated Sugar : Sweetens the cake just enough without overpowering the fresh strawberries.
- Honey : Adds a touch of moisture and keeps the cake soft for days.
- Cake Flour : Creates a tender, delicate crumb. It's lighter than all-purpose flour.
- Cornstarch : Helps keep the sponge extra soft and airy.
- Whole Milk: Adds a bit of richness and keeps the batter smooth.
- Neutral Oil : Keeps the cake moist without adding any heavy flavor.
- Vanilla Extract : Gives the sponge a warm, subtle sweetness.
Sugar Syrup
- Sugar : Dissolves into the water to make a light syrup that keeps the cake layers moist.
- Water: Thins out the sugar so it brushes on easily.
Whipped Cream
- Heavy Whipping Cream : Whips up into soft, billowy clouds. Higher fat content makes it even fluffier.
- Powdered Sugar : Sweetens the cream without making it grainy.
Decoration
- Fresh Strawberries : The star of the show. Pick the ripest, sweetest ones you can find.
HOW TO MAKE Japanese Strawberry Shortcake
Let's build this beautiful cake step by step.
Prepare the Cake Batter
Preheat and prep: Preheat your oven to 350°F (180°C). Line a 15 cm (6-7 inch) round cake pan with parchment paper so the sponge releases easily.
Sift the dry ingredients: Sift the cake flour and cornstarch twice into a bowl. This makes the sponge light and airy. Set it aside.
Mix the wet ingredients: In a small bowl, whisk together the milk, neutral oil, and vanilla extract until smooth. Set this aside too.
Prepare the water bath: Bring a pot of water (about 2.5 inches high) to a gentle simmer over medium-low to low heat. You'll use this to warm the eggs.
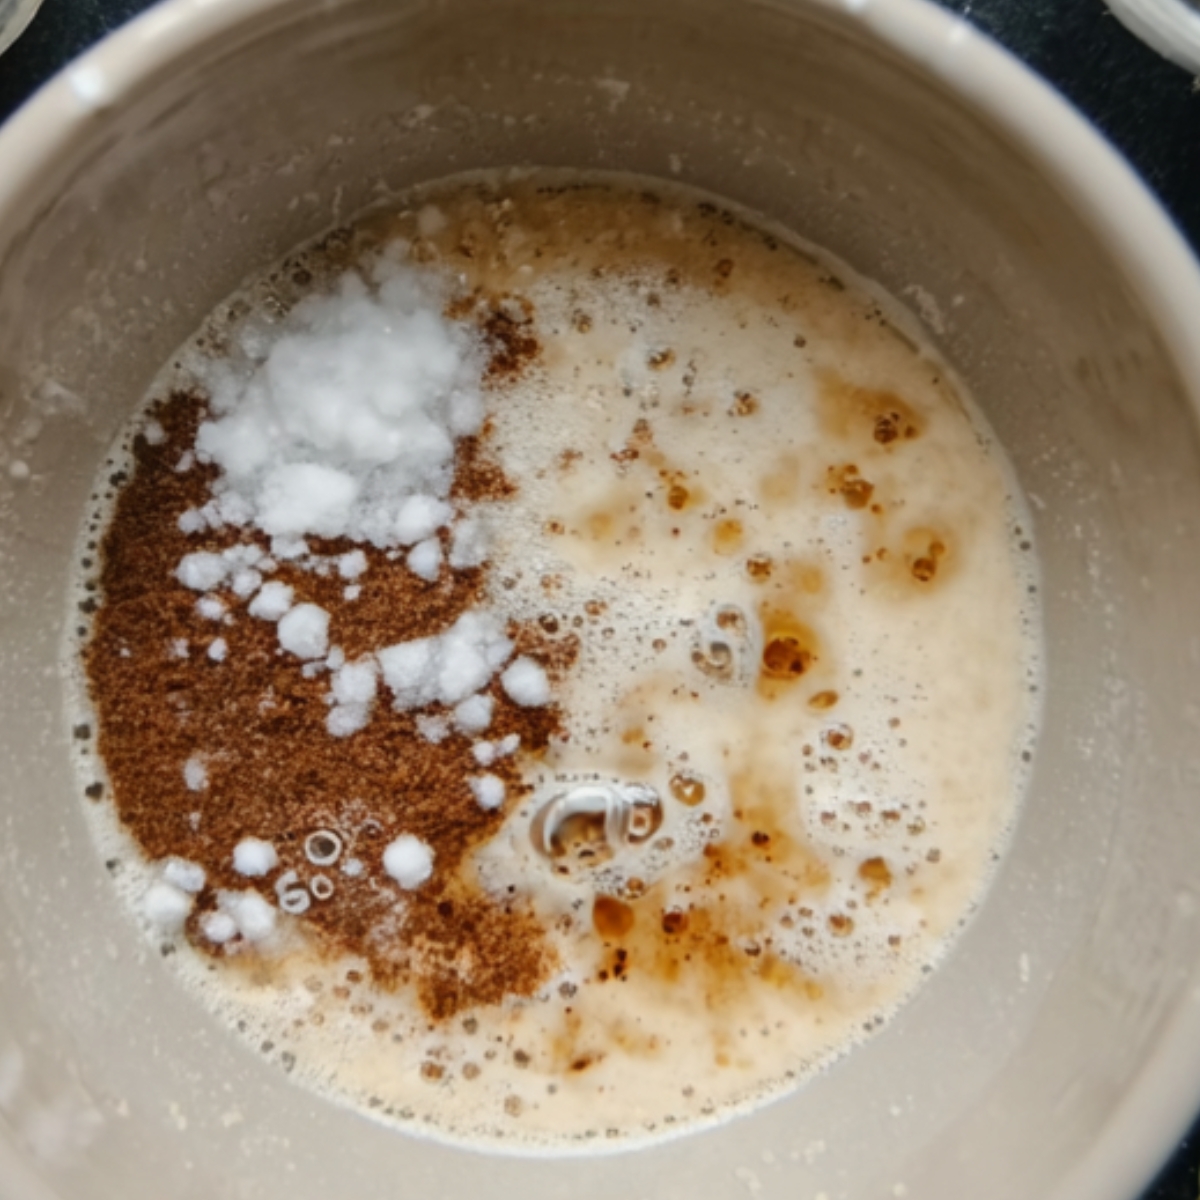
Warm the eggs: In the bowl of a stand mixer (or a heatproof bowl), add the eggs, egg yolk, sugar, and honey. Mix them slightly, then place the bowl over the simmering water bath. Heat the mixture until it feels warm to the touch, about 40-43°C (104-110°F). This step helps the eggs whip up tall and fluffy.
Beat the eggs: Immediately transfer the bowl to your stand mixer and beat on high speed (Speed 10) for 5-6 minutes. The batter should increase in volume and form thick ribbons. You'll know it's ready when you can "draw" a ribbon with the whisk attachment and it stays on the surface for a few seconds.
Smooth the batter: Lower the mixer to medium speed (Speed 4) and beat for 1 more minute. This smooths out the batter and gets rid of any large air bubbles.
Fold & Bake
Fold in the flour: Gently fold in the sifted flour and cornstarch using a spatula. Use a scooping and tossing motion to keep the batter light and airy.
Mix a small amount with the wet ingredients: Take a scoop of the batter and mix it with the milk-oil mixture until smooth. This helps the wet ingredients blend in without deflating the batter.
Combine everything: Pour that mixture back into the main batter and fold gently until it's fully incorporated and flows smoothly.
Pour and prep the pan: Pour the batter into your prepared pan. Use chopsticks to swirl in any deflated (darker and denser) batter, then tap the pan on the counter a few times to remove air bubbles.
Bake: Bake for 26-28 minutes, or until the top is golden and the cake feels slightly springy to the touch. You might hear a soft "fizz" when it's ready.
Cool the cake: Once out of the oven, tap the pan lightly on the counter, then invert the cake onto a wire rack lined with a paper towel. Let it cool completely before assembling.
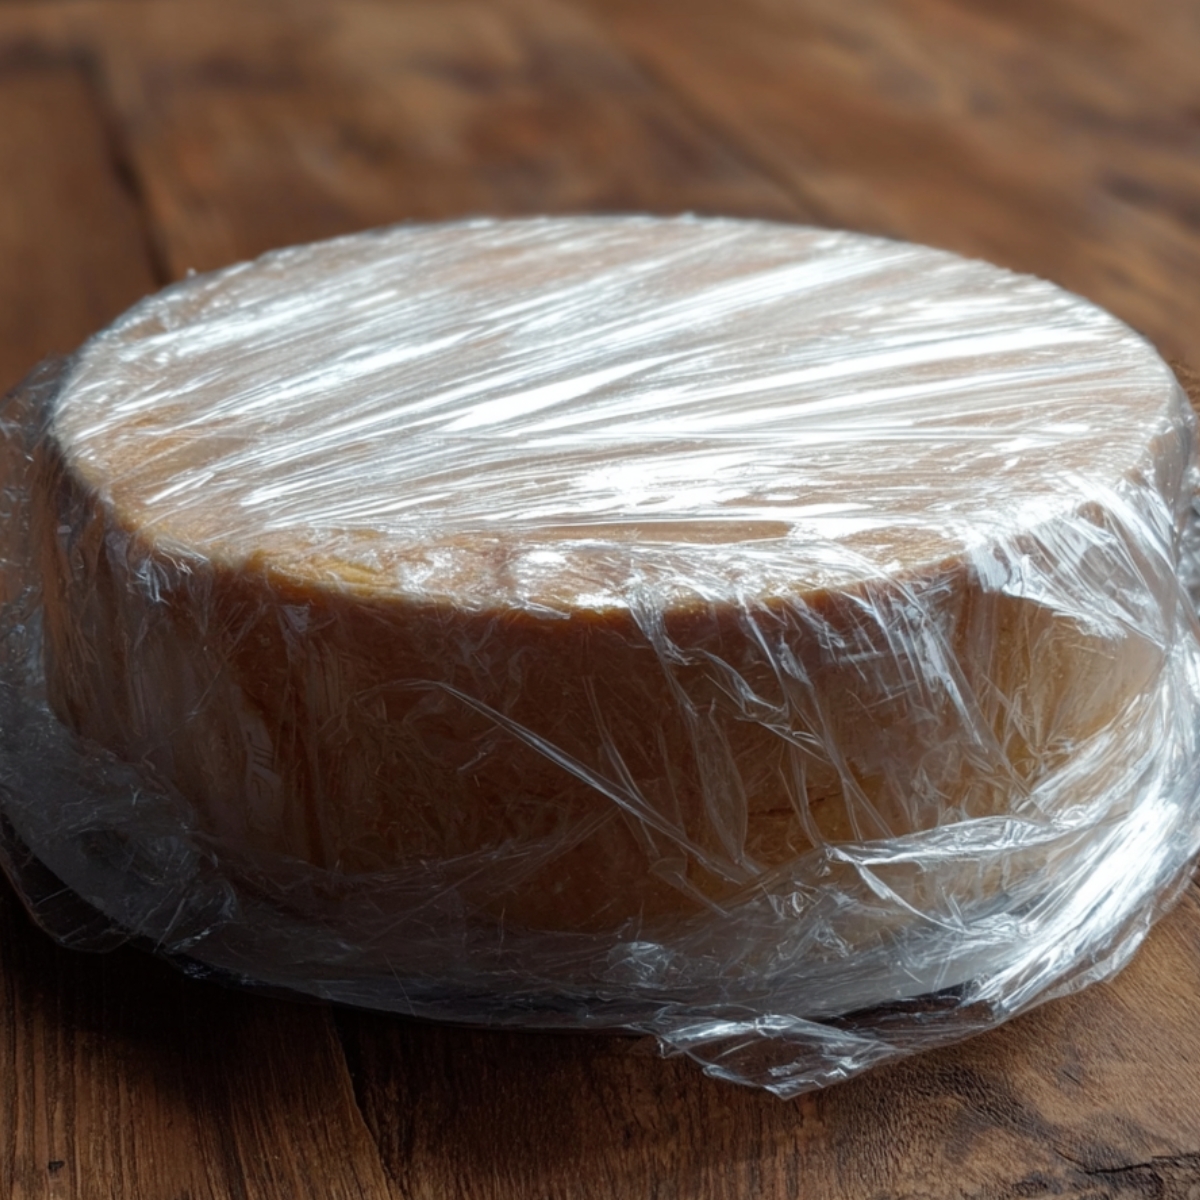
Wrap and wait: Once cooled, wrap the sponge tightly in plastic wrap until you're ready to assemble the cake.
Make the Sugar Syrup & Whipped Cream
Sugar Syrup: Heat the sugar and water in a small saucepan or microwave-safe bowl until the sugar is fully dissolved. Let it cool to room temperature.
Whipped Cream: Prepare an ice bath by filling a large bowl with ice and cold water. Place your mixing bowl into the ice bath to keep the cream cold. Add the cold heavy cream and powdered sugar. Whip on high speed until medium peaks form. Set aside half of the cream in the fridge. Continue whipping the other half to stiff peaks for layering.
Assemble the Cake
Prep the strawberries: Slice the strawberries into ¼-inch thick pieces. Reserve a few whole or halved strawberries for decorating the top.
Slice the cake: Using a cake slicer or serrated knife, slice your sponge cake horizontally into 2 or 3 even layers.
Brush with syrup: Lightly brush both sides of each layer with the sugar syrup. This keeps the cake moist and adds a subtle sweetness. Keep the layers wrapped to prevent them from drying out.
Layer the cream and strawberries: On the first layer, spread a thin layer of stiff whipped cream, then arrange a single layer of sliced strawberries on top. Spread another layer of cream over the strawberries to fill in the gaps and smooth the surface. Repeat with the second layer.
Top with the final layer: Place the final cake layer on top and apply a thin crumb coat of cream. This seals in any loose crumbs.
Frost the cake: Use the softer whipped cream (the medium-peak batch) to frost the entire cake. Smooth it out with an offset spatula. Decorate with leftover cream using a piping tip of your choice and top with whole or halved strawberries.

Chill: Chill the cake in the refrigerator for at least 3 hours, preferably overnight. This lets the flavors meld together and the cream set.
Serve: Slice with a sharp knife, wipe it clean between cuts, and serve cold. Enjoy every light, fluffy, strawberry-filled bite.
Substitutions and Swaps
You can customize this Japanese Strawberry Shortcake to fit what you have on hand.
Cake Flour: If you don't have cake flour, use ½ cup all-purpose flour minus 1 tablespoon, then add 1 tablespoon cornstarch. Sift it twice for the best texture.
Honey: Swap in maple syrup or agave if you prefer. It adds a slightly different flavor but works just as well.
Neutral Oil: Use vegetable oil, canola oil, or even melted coconut oil (make sure it's cooled slightly).
Heavy Cream: Use whipping cream with at least 35% fat. Lower fat content won't whip up as nicely.
Fresh Strawberries: You can use other berries like raspberries, blueberries, or sliced peaches. Just make sure they're fresh and not too juicy, or they'll make the cake soggy.
Equipment FOR Japanese Strawberry Shortcake
Here's what you'll use to make this JJapanese Strawberry Shortcake.
- Stand mixer (or hand mixer): Helps you whip the eggs and cream to the perfect consistency.
- 15 cm (6-7 inch) round cake pan: The perfect size for a small celebration cake.
- Parchment paper: Keeps the cake from sticking.
- Small saucepan (or microwave-safe bowl): For making the sugar syrup.
- Ice bath: Keeps the whipped cream cold and fluffy.
- Mixing bowl: For whipping the cream.
- Cake slicer or serrated knife: Makes slicing the sponge layers easy and even.
- Piping tip (for decoration): Gives the whipped cream a professional finish.
How to Store Japanese Strawberry Shortcake
This Japanese Strawberry Shortcake tastes best when it's fresh, but you can store it for a few days.
In the fridge: Store the assembled cake in an airtight container or cover it tightly with plastic wrap. It'll stay fresh for up to 3 days. The whipped cream will soften slightly, but the flavor stays delicious.
Freezing: I don't recommend freezing this cake once it's assembled. The whipped cream and strawberries don't freeze well. If you want to freeze something, freeze the unfrosted sponge cake layers wrapped tightly in plastic wrap for up to 1 month. Thaw them in the fridge before assembling.
Leftover sponge: If you have leftover sponge cake, wrap it tightly and store it at room temperature for 1 day or in the fridge for up to 3 days.
Expert Tips
These tips will help you make the fluffiest, most beautiful Japanese Strawberry Shortcake every time.
Warm the eggs properly: Heating the eggs to the right temperature (about 40-43°C) is key to getting the batter to whip up tall and fluffy. Use a thermometer if you have one.
Don't skip the sifting: Sifting the flour and cornstarch twice makes the sponge incredibly light. It's worth the extra step.
Fold gently: When folding in the flour, use a light hand. You want to keep as much air in the batter as possible.
Use cold cream: Make sure your heavy cream is very cold before whipping. The ice bath helps keep it cold and makes it whip up faster.
Chill overnight: If you have time, let the assembled cake chill in the fridge overnight. The flavors meld together beautifully, and the sponge soaks up the syrup.
Slice with a hot knife: Run your knife under hot water, dry it off, then slice. This gives you clean, beautiful slices.
FAQ
What is Japanese Strawberry Shortcake?
Japanese Strawberry Shortcake is a light, airy sponge cake layered with whipped cream and fresh strawberries. It's much softer and more delicate than American-style Japanese Strawberry Shortcake , which is usually made with biscuits. In Japan, it's the most popular cake for birthdays and special occasions. My mom always says the secret is using the freshest strawberries you can find.
What is the difference between Japanese and American shortcake?
American shortcake is typically made with sweet biscuits or scones, while Japanese Strawberry Shortcake uses a soft genoise sponge. The Japanese Strawberry Shortcake version is lighter, fluffier, and less sweet. It's also layered with whipped cream instead of being served with dollops of cream on top. The focus is on delicate texture and fresh fruit rather than rich, buttery flavor.
What is Japanese sponge Japanese Strawberry Shortcake called?
The sponge cake used in Japanese strawberry shortcake is called genoise. It's a light, airy cake made by whipping whole eggs and sugar together until they're thick and fluffy. The trick is warming the eggs first, which helps them hold more air. It's the same kind of sponge used in many European cakes.
Is Japanese Strawberry Shortcake popular in Japan?
Yes, strawberry shortcake is incredibly popular in Japan. It's the number one choice for birthdays, Christmas, and other celebrations. You'll find it in every bakery and convenience store. It's so beloved that it's almost synonymous with celebration Japanese Strawberry Shortcake in Japanese culture. If you visit Japan during the holidays, you'll see these beautiful cakes everywhere.
Related
Looking for other recipes like this? Try these:


Pairing
These are my favorite dishes to serve with Japanese Strawberry Shortcake:


Japanese Strawberry Shortcake
Ingredients
Method
- Preheat your oven to 350°F (180°C). Line a 6-7 inch round cake pan with parchment paper.
- Sift the cake flour and cornstarch twice to ensure no lumps.
- In a small bowl, whisk together milk, neutral oil, and vanilla extract. Set this mixture aside.
- Heat a pot of water (about 2.5 inches deep) to a gentle simmer on medium-low heat.
- In a heatproof bowl or stand mixer bowl, combine eggs, egg yolk, sugar, and honey. Mix lightly, then place the bowl over the simmering water bath. Warm the mixture to about 40-43°C (104-110°F).
- Immediately transfer the bowl to the stand mixer and beat on high speed for 5-6 minutes until the mixture thickens and forms ribbons.
- Lower the mixer speed to medium and beat for an additional minute to smooth the batter and eliminate large air bubbles.
- Gently fold in the sifted flour and cornstarch using a spatula, ensuring even incorporation.
- Take a scoop of batter and mix it with the milk-oil mixture until smooth, then fold it back into the main batter.
- Pour the batter into the prepared cake pan. Tap the pan lightly to remove air bubbles.
- Bake for 25-28 minutes or until golden and slightly springy to the touch. You may hear a soft "fizz" when it's ready.
- Once out of the oven, tap the pan lightly, invert the cake onto a wire rack lined with paper towels, and let it cool completely.
- Once cooled, wrap the cake tightly in plastic wrap until ready to assemble.
- To make the sugar syrup, heat sugar and water in a saucepan or microwave-safe bowl until the sugar dissolves completely. Let cool.
- For the whipped cream, prepare an ice bath by filling a large bowl with ice and water. Place your mixing bowl into the ice bath. Add cold heavy cream and powdered sugar. Whip on high speed until medium peaks form. Set aside half of the cream. Continue whipping the remaining cream to stiff peaks for layering.
- Slice the strawberries into ¼-inch thick pieces, reserving a few whole or halved strawberries for decoration.
- Using a cake slicer or serrated knife, slice the cooled sponge cake horizontally into 2 or 3 even layers.
- Lightly brush both sides of each layer with the sugar syrup to keep the cake moist.
- On the first layer, spread a thin layer of stiff whipped cream, followed by a single layer of sliced strawberries. Spread another layer of cream over the strawberries.
- Repeat the process with the second layer of cake.
- Place the final cake layer on top and apply a thin crumb coat of whipped cream.
- Use the softer whipped cream to frost the entire cake. Decorate with the remaining whipped cream and top with whole or halved strawberries.
- Chill the assembled cake in the refrigerator for at least 3 hours, preferably overnight, to set.
- Slice with a sharp knife and serve to enjoy.

Leave a Reply