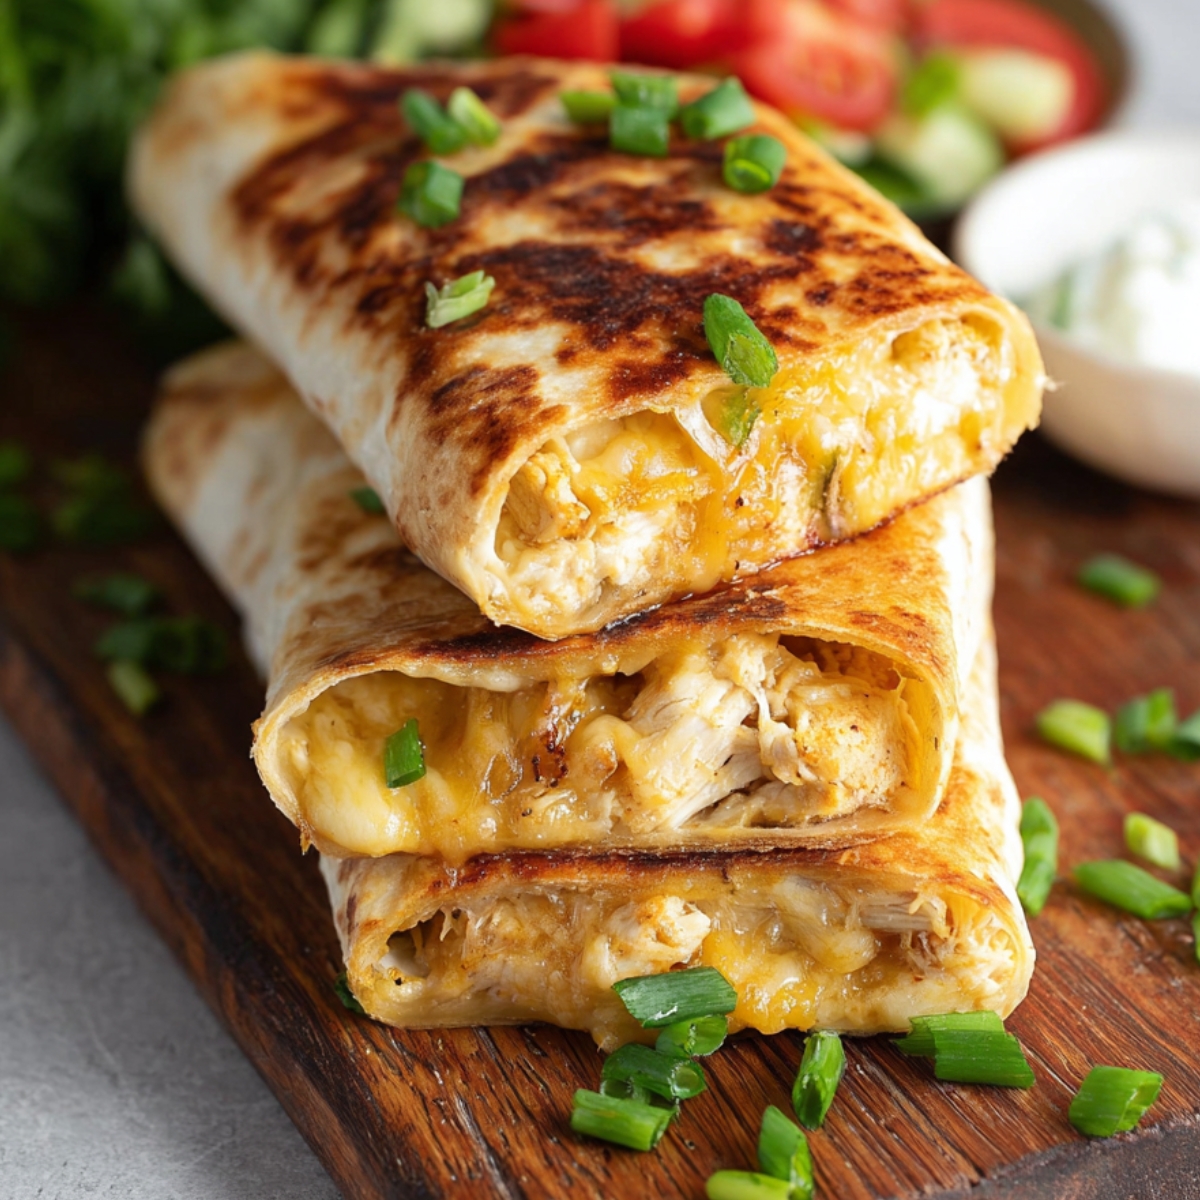
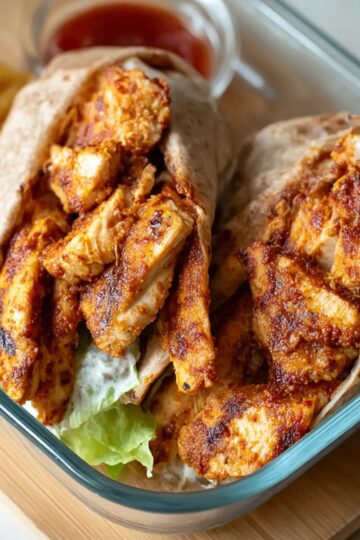
These crispy, golden cheesy garlic chicken wraps are stuffed with tender rotisserie chicken, garlicky cream sauce, and melted cheddar that oozes out with every bite. They're ready in about 20 minutes and packed with 38 grams of protein per serving, making them perfect for busy weeknights when you need something hearty and satisfying. I first made these on a random Tuesday when I had leftover cheesy garlic chicken wraps in the fridge and nothing planned for dinner, and they've been on repeat ever since.
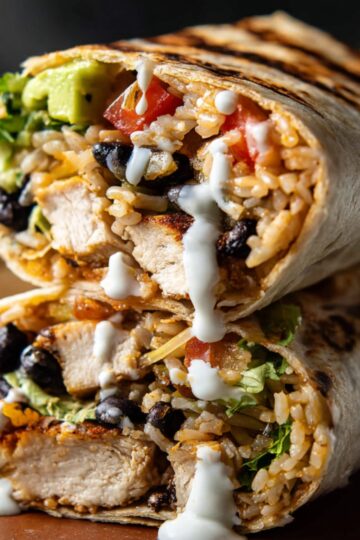
If you love quick, protein-packed meals, you might also enjoy this Southwest Chicken Wrap Recipe or try pairing these wraps with The Best Crispy Sweet Potato Fries on the side. For more garlic-forward recipes, check out this Easy Garlic Butter Chicken Recipe.
Why These cheesy garlic chicken wraps Work So Well
These cheesy garlic chicken wraps hit differently than your average wrap because they're cooked in a skillet until golden and crispy, not served cold. The pan-frying transforms them into something closer to a quesadilla, with that satisfying crunch on the outside and warm, gooey filling inside. The garlic mayo sauce binds everything together without making the wrap soggy, and the touch of hot sauce adds just enough kick to keep things interesting.
They're also ridiculously practical. You can use rotisserie cheesy garlic chicken wraps from the store, which means no actual cooking of the protein. The whole thing comes together in one bowl, gets rolled up, and pan-fried in less than 10 minutes. I've made these for meal prep, quick lunches, and even late-night snacks when I didn't feel like cooking anything complicated.
Jump to:
cheesy garlic chicken wrapsIngredients
Here's what goes into these crispy, protein-packed wraps.
See Recipe Card Below This Post For ingredient Quantites
Tortillas: Large flour tortillas work best for wrapping and hold up well during pan-frying. You can use regular, whole wheat, or low-carb tortillas depending on your preference.
Cooked chicken: Rotisserie chicken is the fastest option and adds great flavor. You can also use leftover grilled chicken, baked chicken breast, or even shredded chicken thighs. About 200 grams gives you the right amount of filling.
Garlic cloves: Fresh minced or grated garlic brings that bold, aromatic flavor that makes these wraps special. Start with two cloves and adjust based on how much you love garlic.
Light mayonnaise: Creates a creamy base for the sauce and helps bind everything together without adding too much heaviness.
Greek yogurt: Adds tanginess and extra creaminess while keeping the sauce lighter. Plain yogurt works just as well if that's what you have.
Hot sauce: Frank's RedHot is my go-to, but any hot sauce you enjoy will work. It adds a subtle kick without overpowering the garlic and cheese.
Salt: Balances all the flavors and brings out the savory notes in the chicken and cheese.
Grated cheese: A cheddar blend melts beautifully and adds that gooey, stretchy texture. Monterey Jack, mozzarella, or a Mexican blend all work great too.
Green onion: Adds a fresh, mild onion flavor and a pop of color. The mild bite complements the richness of the cheese and mayo.
Olive oil spray: Helps the tortillas get crispy and golden without adding too much oil or making them greasy.
HOW TO MAKE cheesy garlic chicken wraps
These wraps come together quickly with just a few simple steps.
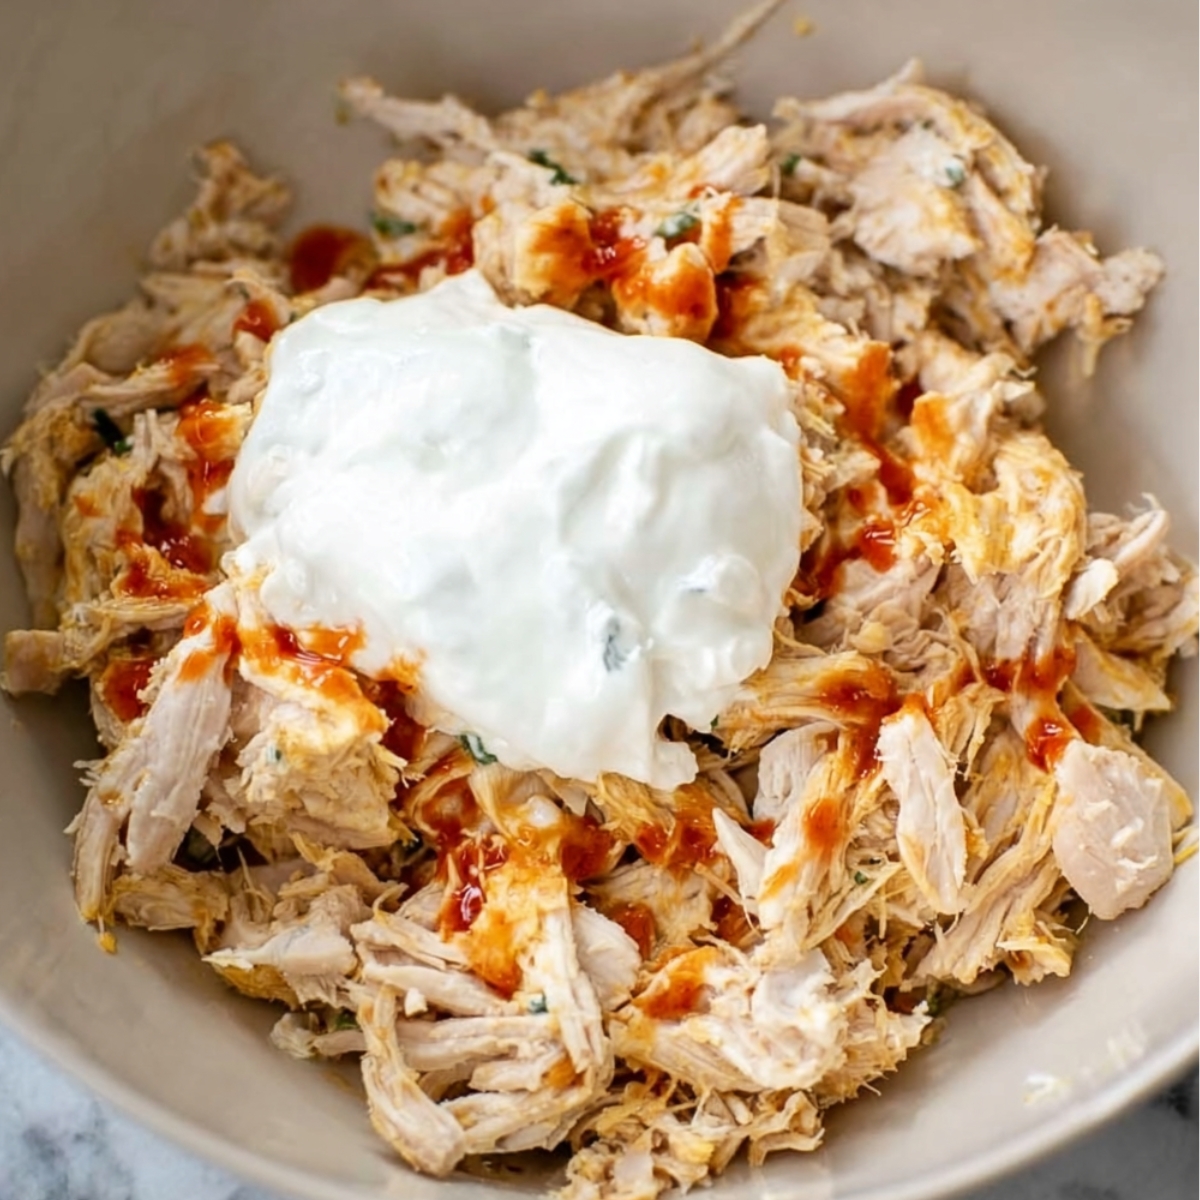
Make the filling: In a mixing bowl, combine the chopped chicken, minced garlic, light mayonnaise, Greek yogurt, hot sauce, and salt. Stir everything together until the chicken is evenly coated with the creamy, garlicky sauce.
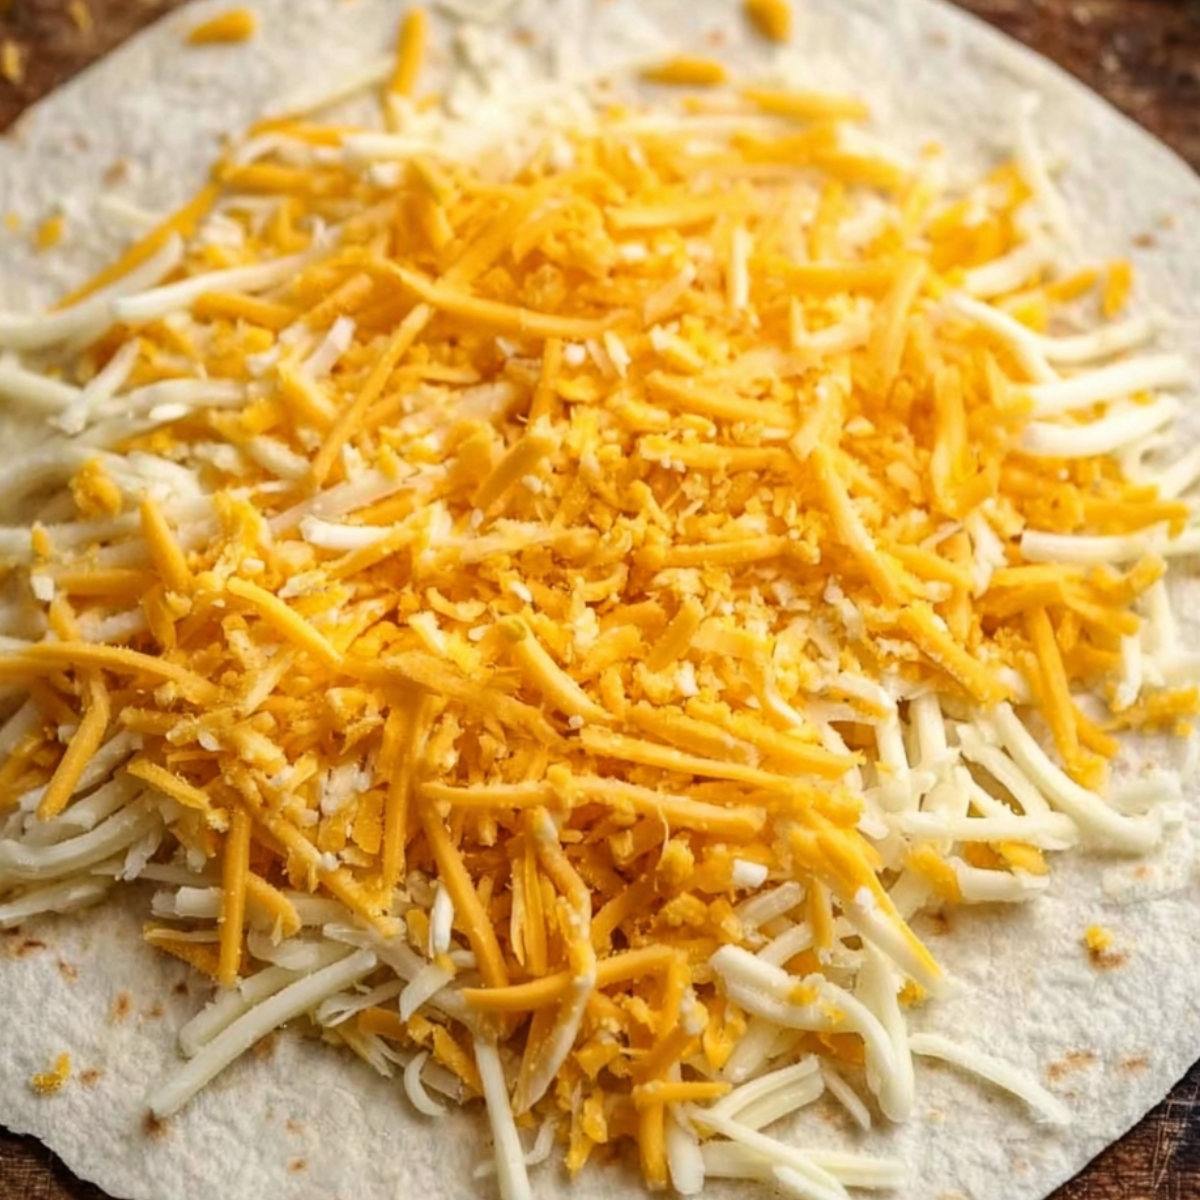
Layer the tortilla: Place one tortilla flat on your work surface. On the lower third of the tortilla, sprinkle about 2 tablespoons of the grated cheese to create a base layer that will help everything stick together.
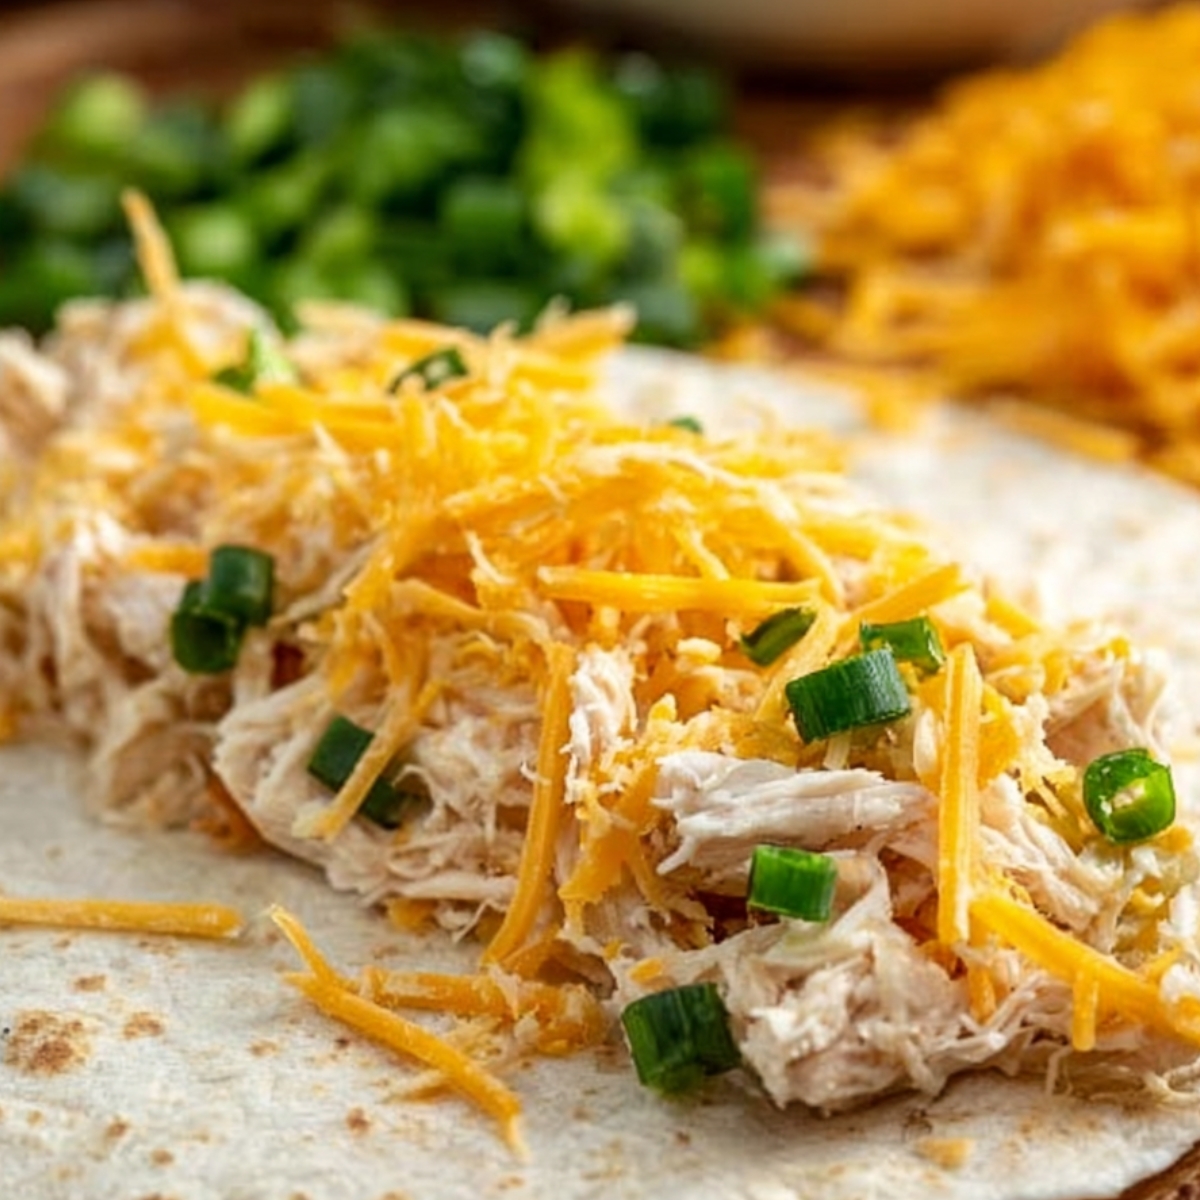
Add the chicken mixture: Spoon approximately ⅔ cup of the cheesy garlic chicken wraps filling on top of the cheese layer, spreading it out slightly but keeping it contained in that lower section.
Top with more cheese and green onion: Add another tablespoon of cheese over the chicken, then sprinkle some chopped green onion on top. This creates layers of flavor and ensures every bite has melted cheese.
Roll it up: Fold in both sides of the tortilla toward the center, then roll it up tightly from the bottom, keeping the filling tucked in as you go. The tighter you roll, the better it holds together during cooking.
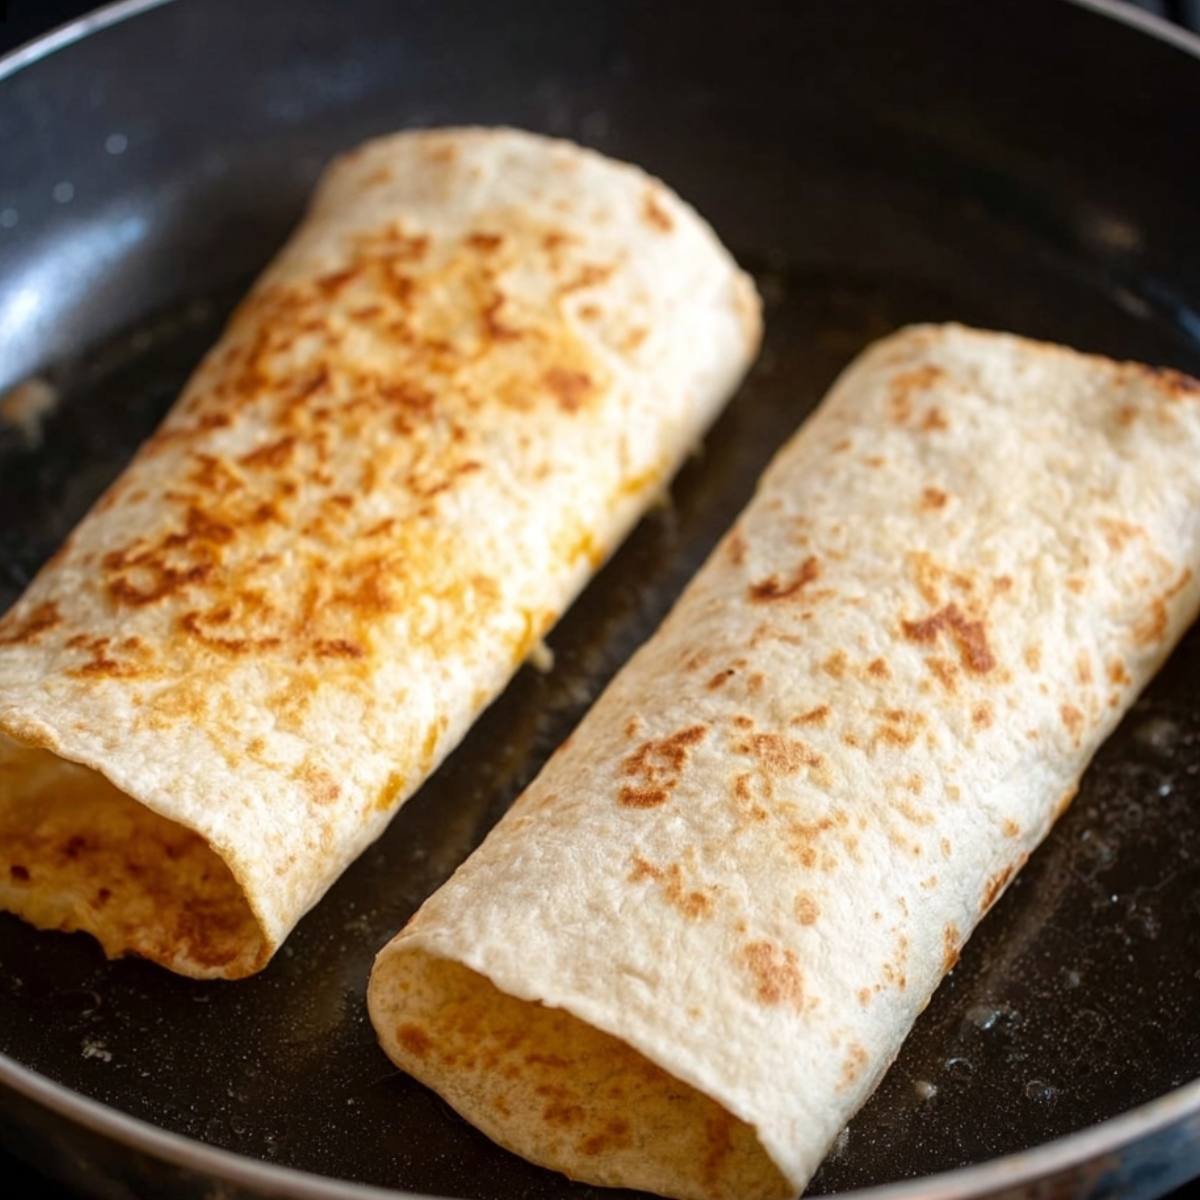
Heat the pan: Place a non-stick skillet over medium-high heat and spray it lightly with olive oil. Let the pan get hot before adding the wraps.
Cook the wraps: Place the wraps seam-side down in the hot pan and cook for 3 to 4 minutes until the bottom is golden and crispy. Flip them carefully and cook the other side for another 3 to 4 minutes. Cover the pan with a lid during cooking to help heat the filling through and melt the cheese inside.
Slice and serve: Remove the wraps from the pan and let them rest for about 30 seconds, then slice each wrap in half on a diagonal and serve immediately while they're still hot and crispy.
Substitutions and Swaps
Different proteins: Swap the cheesy garlic chicken wraps for turkey, shredded pork, or even black beans for a vegetarian option. Leftover steak sliced thin also works beautifully.
Tortilla options: Use whole wheat, spinach, or sun-dried tomato tortillas for extra flavor. Low-carb or high-protein tortillas work great if you're watching carbs.
Cheese varieties: Try pepper jack for extra heat, Swiss for a milder flavor, or a Mexican cheese blend for more authentic taco vibes.
Dairy-free version: Use dairy-free mayo and yogurt, and swap in dairy-free cheese. The wraps still crisp up nicely and taste delicious.
Spice level: Leave out the hot sauce completely for a mild version, or add sriracha or chipotle mayo for a different kind of heat.
Equipment FOR cheesy garlic chicken wraps
Mixing bowl: For combining the cheesy garlic chicken wraps filling. Any medium-sized bowl works perfectly.
Spoon or spatula: To mix the cheesy garlic chicken wraps with the sauce and scoop it onto the tortillas.
Non-stick skillet or frying pan: Essential for getting that crispy, golden exterior without the wraps sticking or tearing.
Lid for skillet: Covering the pan while cooking helps melt the cheese and heat the filling through without burning the outside.
Knife and cutting board: For slicing the finished wraps in half and chopping the green onion.
Storage and Reheating
Refrigerator: Store cooked wraps in an airtight container for up to 3 days. They'll lose some crispiness, but they still taste great reheated.
Reheating: The best method is to reheat them in a dry skillet over medium heat for 2 to 3 minutes per side until warmed through and crispy again. You can also use an air fryer at 375°F for about 5 minutes. Avoid the microwave if possible, as it makes them soggy.
Meal prep: You can prep the filling ahead and store it separately from the tortillas for up to 3 days. Assemble and cook the wraps fresh when you're ready to eat them.
Freezing: These don't freeze particularly well once cooked because the tortillas get soggy when thawed. If you want to freeze them, assemble the wraps but don't cook them. Wrap tightly in plastic wrap and foil, freeze for up to 1 month, then thaw overnight and cook fresh.
Expert Tips
Use room temperature tortillas: Cold tortillas are more likely to crack when you roll them. Let them sit out for a few minutes or warm them slightly in the microwave for 10 seconds.
Don't overfill: It's tempting to pack in as much filling as possible, but too much makes them impossible to roll and seal properly. Stick to about ⅔ cup per wrap.
Press down while cooking: Use a spatula to gently press down on the wraps while they cook. This helps them get evenly crispy and ensures good contact with the pan.
Let them rest before cutting: Give the wraps about 30 seconds to set after cooking. This makes them easier to slice cleanly without the filling spilling out.
Adjust the garlic: If you're a garlic lover, go ahead and add a third clove. If you're more cautious, start with one and taste the filling before adding more.
FAQ
What to put in a cheesy garlic chicken wraps?
The essentials are cooked chicken, garlic, cheese, and a creamy sauce. I use a mix of mayo, yogurt, and hot sauce for the base, then add green onions for freshness. You can also add lettuce, tomatoes, or avocado if you want extra vegetables.
What cheese is good for cheesy garlic chicken wraps?
Cheddar melts beautifully and has great flavor, but Monterey Jack, pepper jack, mozzarella, or a Mexican cheese blend all work well. Go for something that melts easily and complements the garlic without overpowering it.
How to make cheesy garlic chicken wraps?
Mix your cooked chicken with a flavorful sauce, layer it with cheese in a tortilla, roll it up tightly, and cook it in a hot skillet until crispy and golden. The key is pan-frying them instead of serving them cold, which transforms the whole dish.
What fillings to put in wraps?
Beyond chicken and cheese, you can add sautéed vegetables, beans, rice, fresh greens, avocado, salsa, or any cooked protein you have on hand. Just keep the filling relatively dry so the wrap doesn't get soggy.
Related
Looking for other recipes like this? Try these:
Pairing
These are my favorite dishes to serve with cheesy garlic chicken wraps:

Crispy Cheesy Garlic Chicken Wraps
Ingredients
Method
- Combine the chopped chicken, garlic, mayonnaise, yogurt, hot sauce, and salt in a mixing bowl until evenly coated.
- Place a tortilla flat and scatter a small layer of shredded cheese across the lower third, then spoon about ¾ cup of the chicken mixture over it, finishing with more cheese and green onion.
- Fold the sides inward and roll the tortilla tightly from the bottom to create a secure wrap.
- Warm a non-stick skillet over medium-high heat and lightly coat the surface with olive oil spray.
- Set the wraps seam-side down in the pan and cook for 3-4 minutes per side until deeply golden and crisp, covering briefly to help melt the cheese inside.
- Remove from the pan, slice in half, and serve immediately while hot and melty.

Leave a Reply