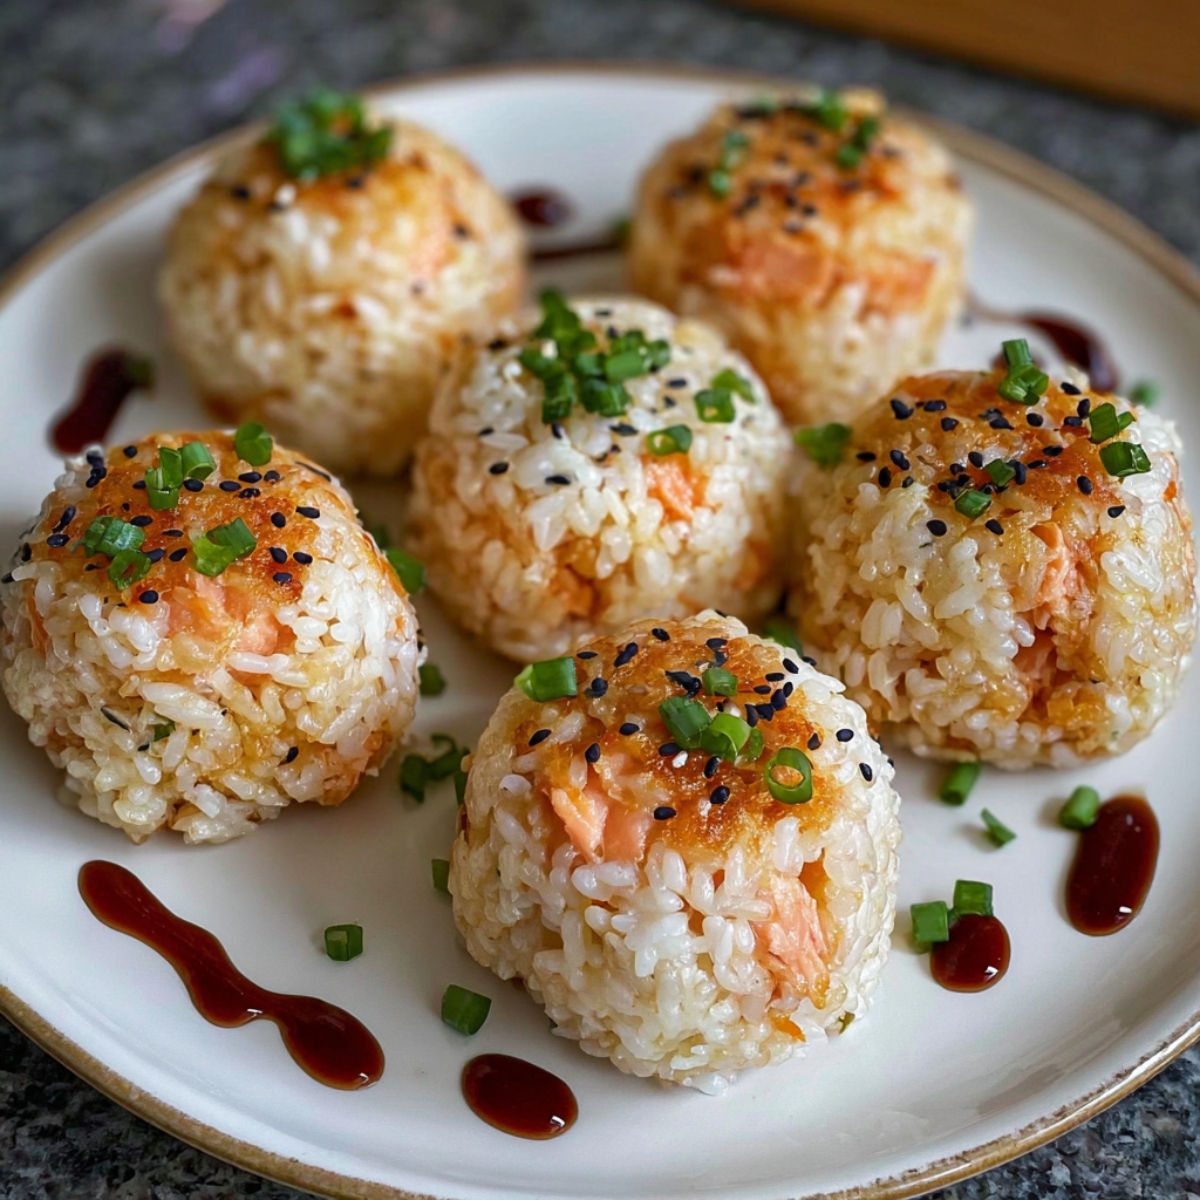
My neighbor Yuki knocked on my door last spring holding a container of salmon rice balls she'd made for her kids' lunches. "Try one before they disappear," she said, opening the lid. I grabbed one - still warm, crispy outside, soft inside with flakes of salmon rice balls mixed through the rice. I ate three more standing in my doorway before I could talk. "These are for lunch?" I asked. Yuki laughed and said her mom made them every week when she was growing up in Osaka. "They're called onigiri. I've been making them for my kids for five years."
Why You'll Love This Salmon Rice Balls Recipe
I've made these twice a month since Yuki taught me, and they stick around for good reasons. The rice balls work cold or warm, so you can pack them for lunch without worrying about reheating. You don't need fancy equipment - just a bowl, your hands, and a pot to cook rice. They taste like something you'd pay too much for at a Japanese restaurant, but they cost maybe two bucks to make a whole batch.
Daniel eats these without the usual fight, which matters when you're dealing with a kid who thinks sandwiches are boring but won't eat most "weird" foods. He'll eat two whole rice balls and ask if there's more. The recipe makes enough for several lunches, and they keep in the fridge for three days without getting nasty. I've brought these to four different potlucks and each time someone asks how I made rice into handheld food. Yuki was right when she said these don't fail if you use the right rice and wet your hands before shaping.
Jump to:
- Why You'll Love This Salmon Rice Balls Recipe
- Ingredients for Salmon Rice Balls
- How To Make Salmon Rice Balls Step By Step
- Smart Swaps for Salmon Rice Balls
- salmon rice balls for Variations
- Equipment for salmon rice balls
- Storage and Keeping Fresh
- What to Serve With Salmon Rice Balls
- Top Tip
- The Recipe My Grandma Wouldn't Let Me Forget
- FAQ
- Time to Make Your Own Rice Balls!
- Related
- Pairing
- salmon rice balls
Ingredients for Salmon Rice Balls
The Rice Base:
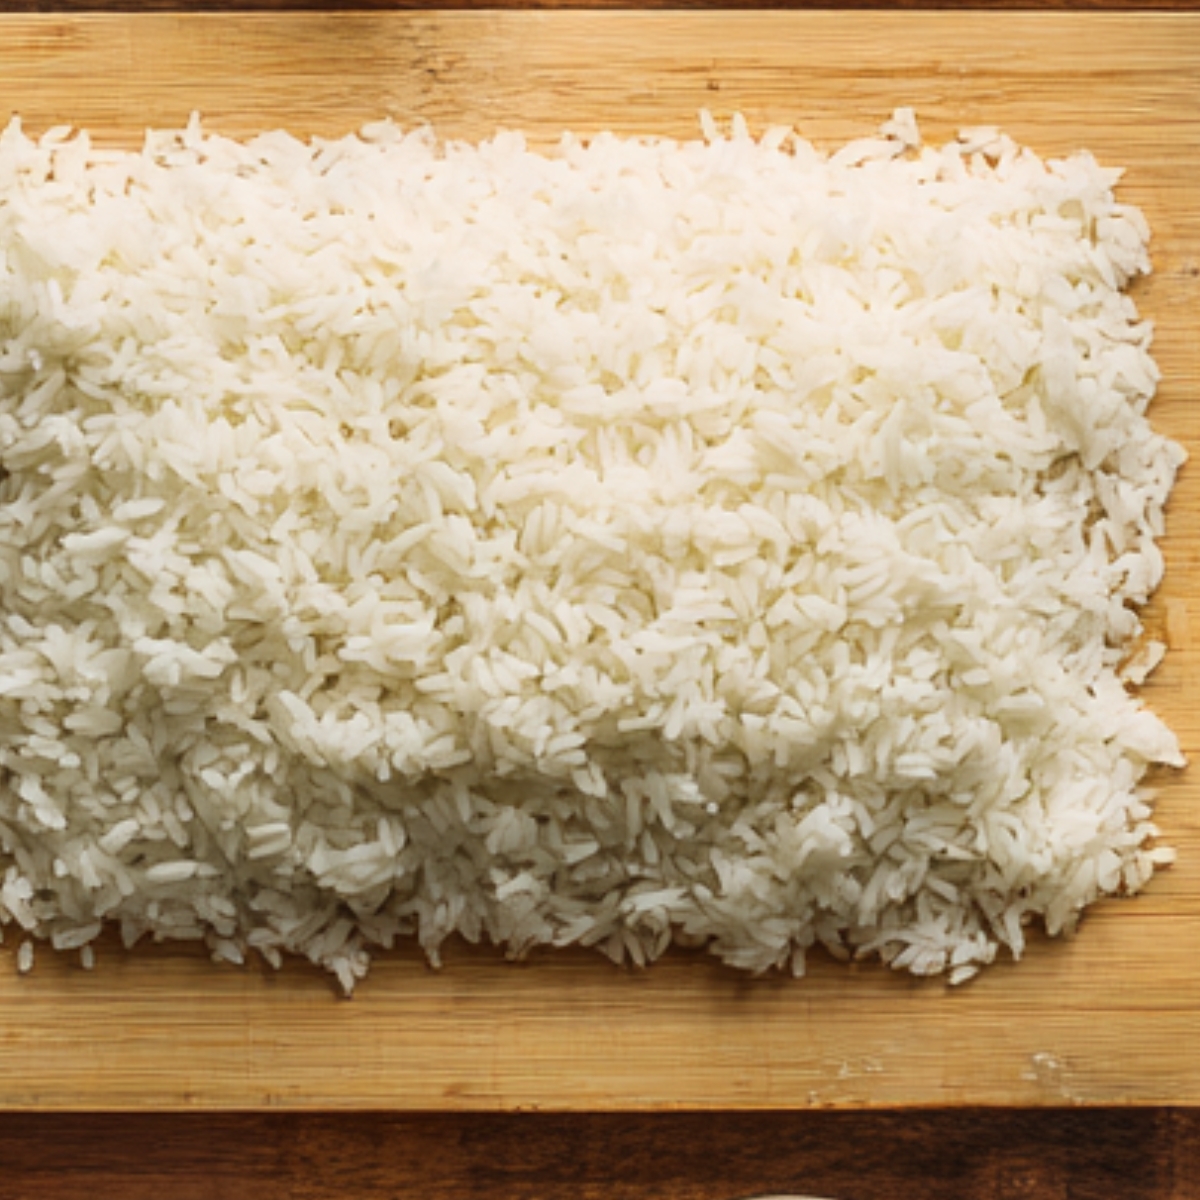
- Short-grain sushi rice
- Water for cooking
- Rice vinegar
- Salt
The Salmon:
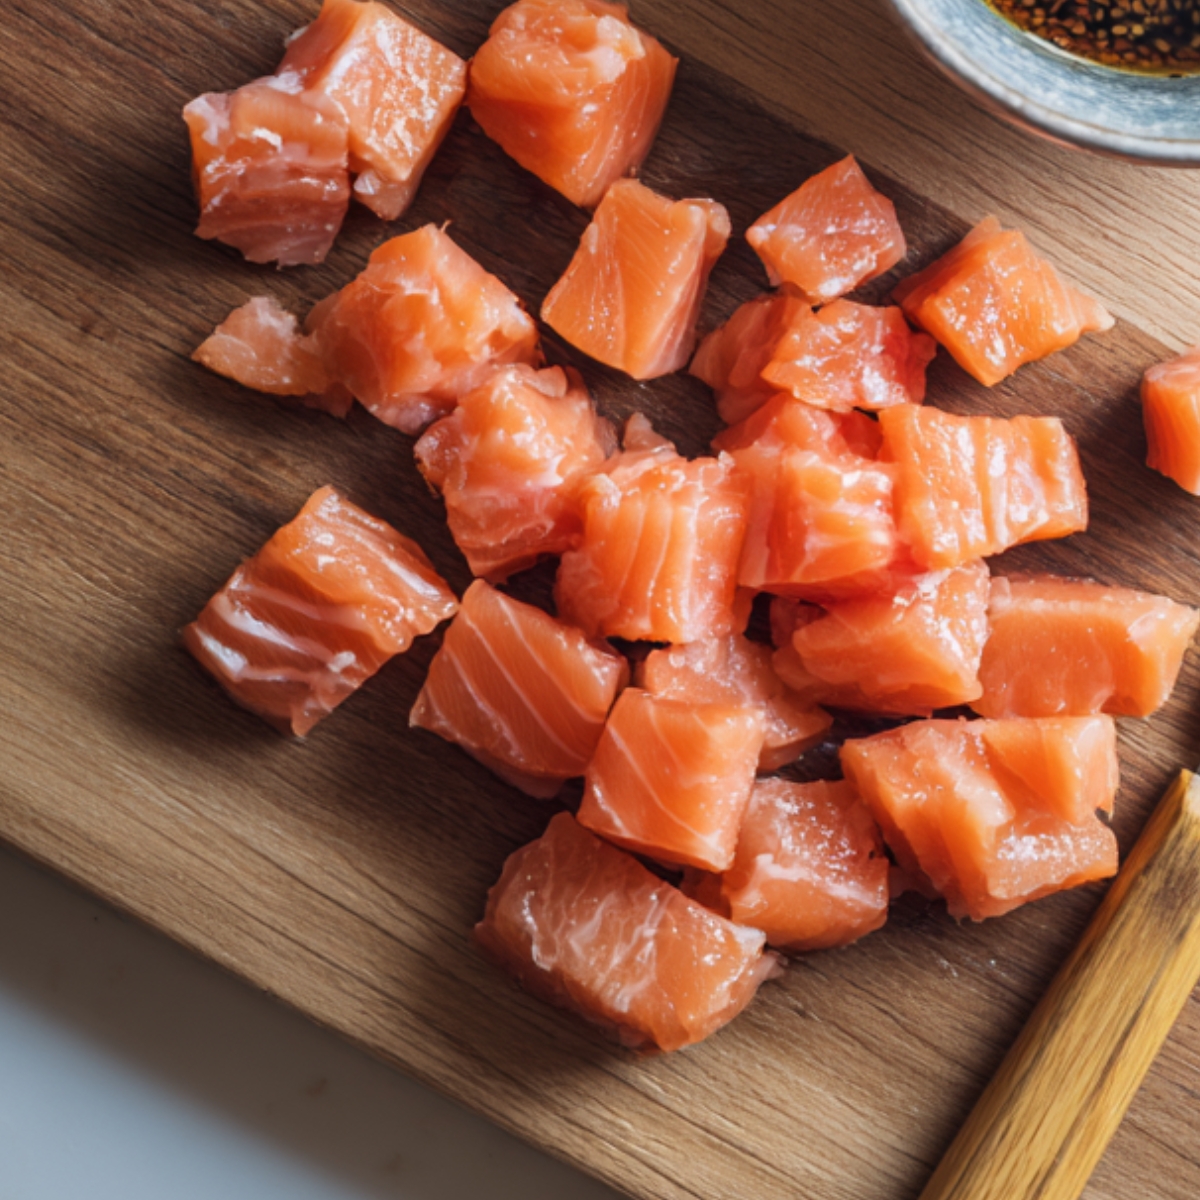
- Cooked salmon
- Fresh salmon
- Salt
- Soy sauce
The Mix-Ins:
- Sesame seeds
- Green onions
- Furikake seasoning
For Shaping:
- Your hands
- Small bowl of water with salt
See recipe card for quantities.
How To Make Salmon Rice Balls Step By Step
Yuki stood in my kitchen for batch number three, stopping me every time I rushed. Here's what she taught me:
Cook the Rice:
- Rinse sushi rice until water runs clear
- Cook according to package directions
- Let it cool until you can touch it
- Don't use it hot or it won't shape right
Season the Rice:
- Mix rice vinegar, salt, and sugar in a small bowl
- Pour over warm rice
- Fold it in gently with a spatula
- Let it cool to room temperature
Prep the Salmon:
- If using canned, drain it well
- Flake it with a fork into small pieces
- Mix with a tiny bit of soy sauce
- If using fresh, cook it first and let it cool
Mix Everything:
- Put cooled rice in a big bowl
- Add flaked salmon
- Throw in sesame seeds and green onions
- Mix with your hands gently
Shape the Balls:
- Fill a small bowl with water and add salt
- Wet your hands - this is important
- Grab a handful of rice mixture
- Pack it firmly but not too hard
- Shape into a ball or triangle
- Wet your hands again between each one
Smart Swaps for Salmon Rice Balls
I've made these for friends with different needs, so here's what worked:
Rice Options:
- Sushi rice → Brown sushi rice (takes longer to cook)
- White → Cauliflower rice (doesn't stick as well)
- Regular → Forbidden black rice (looks cool)
Salmon Changes:
- Canned salmon → Fresh cooked salmon
- Salmon → Canned tuna (cheaper)
- Fish → Cooked shredded chicken
- Meat → Just vegetables (make them vegetarian)
Seasoning Swaps:
- Furikake → Everything bagel seasoning
- Sesame seeds → Crushed nori sheets
- Green onions → Chives or regular onions
- Soy sauce → Tamari (gluten-free)
For the Crispy Version:
- Plain → Roll in panko first (extra crispy)
- Pan fry → Air fryer (works great)
- Oil → Cooking spray (less messy)
salmon rice balls for Variations
Spicy Version:
- Mix sriracha into the salmon
- Add diced jalapeños
- Sprinkle with chili flakes
- Daniel won't touch these but I love them
Crispy Fried:
- Shape the balls
- Roll in beaten egg
- Coat with panko breadcrumbs
- Pan fry until golden
Tuna Instead:
- Use canned tuna
- Mix with mayo and soy sauce
- Add diced cucumber
- Cheaper than salmon
Veggie Only:
- Skip the fish completely
- Add shredded carrots
- Throw in edamame
- Mix in corn kernels
Equipment for salmon rice balls
- Rice cooker (or just a pot with lid)
- Large mixing bowl
- Small bowl for hand water
- Fork for flaking salmon
- Spatula for mixing rice
Storage and Keeping Fresh
I make these on Sunday now for the whole week's lunches:
Fridge Storage (3 days):
- Let them cool completely first
- Wrap each one in plastic wrap
- Keep in container
- They stay good for three days max
Freezing (1 month):
- Wrap individually in plastic
- Put in freezer bag
- Label with date
- Thaw overnight in fridge before eating
Eating Cold:
- Take straight from fridge
- No reheating needed
- Pack for lunch as is
- They taste good cold
Reheating:
- Toaster oven: Works too
- Microwave: 30 seconds (makes rice soft)
- Pan fry: Better option, crisps them up
- Air fryer: 5 minutes at 350°F
What to Serve With Salmon Rice Balls
I've served these salmon rice balls at about 20 different meals now, and here's what works. For lunch, they're good on their own - that's the whole point of rice balls, you can eat them with your hands without needing anything else. But if you want sides, a simple miso soup goes well, or some edamame in a bowl with salt. Pickled vegetables work too - the sour crunch cuts through the rich salmon rice balls and rice. Yuki always serves hers with cucumber salad dressed in rice vinegar and sesame oil. For dinner, I'll add some stir-fried vegetables or a light salad on the side. Daniel likes them with steamed broccoli, which surprised me because he usually hates vegetables.
For parties or potlucks, I put the rice balls on a plate with soy sauce in small bowls for dipping. Some people like them with wasabi mixed into mayo, which sounds weird but tastes good. I've also served them next to other Japanese food like teriyaki chicken or vegetable tempura. They work cold straight from the fridge or warm from the pan. Green tea goes well if you're drinking something with them, or just water. Don't overthink it - these rice balls are meant to be simple, portable food that doesn't need much else. That's why Yuki's mom made them every week for lunch boxes.
Top Tip
- Yuki's mom had a trick with salmon rice balls that she learned from her grandmother back in Japan. Most people just mix the salmon rice balls into all the rice and shape it. Her grandmother taught her to hide a chunk of salmon in the center of each ball, surrounded by plain seasoned rice. When you bite into it, you get this surprise burst of fish flavor in the middle instead of little bits throughout.
- Her other secret? She'd toast the sesame seeds in a dry pan until they smelled nutty and started popping. Most people just sprinkle raw sesame seeds on top. Toasted seeds taste completely different - deeper, richer, almost buttery. It takes two extra minutes but changes everything. She'd also save the skin from cooked salmon, crisp it up in a pan until it was like bacon, then crumble it over the finished rice balls.
- The last thing she did - and Yuki made me promise to do this too - was she'd press a small umeboshi (pickled plum) into the center of each ball. The sour, salty plum cuts through the richness of the salmon and rice. Yuki says you can find them at Asian markets, but if you can't, a tiny bit of pickle relish works in a pinch. Not the same, but it gives you that tangy bite that makes these rice balls more than just salmon and rice stuck together.
The Recipe My Grandma Wouldn't Let Me Forget
My Grandma Helen made salmon rice balls different from Yuki's mom, and they'd probably argue about whose method was better if they ever met. Grandma Helen grew up in Hawaii where Japanese and American food mixed together, so her rice balls had their own twist. Instead of just seasoning the rice with vinegar, she'd mix in a spoonful of mayonnaise while the rice was still warm. Sounds gross, but it made the rice creamier and helped it stick together even better. She'd also add diced celery to the salmon rice balls mixture because she said rice balls needed crunch.
Her biggest difference? She'd shape them into logs instead of balls or triangles, then roll them in crushed potato chips before pan-frying. "Make them fun," she'd say, pressing the chips into the rice. Those chips would get so crispy in the pan that they'd shatter when you bit into them. She'd serve them with a sauce made from ketchup, mayo, and a little sriracha - totally not Japanese, totally not traditional, but Daniel would eat five of them in one sitting. When I told Yuki about Grandma Helen's version, she laughed and said her mom would call that "Hawaiian style, not real onigiri."
FAQ
What are the ingredients in salmon rice balls?
Salmon rice balls use short-grain sushi rice, cooked salmon rice balls canned or fresh), sesame seeds, green onions, rice vinegar, salt, and soy sauce. Some versions add furikake seasoning for extra flavor. The key is using sticky sushi rice, not regular long-grain rice, so the balls hold together when you shape them.
What kind of rice goes well with salmon rice balls?
Short-grain sushi rice works best with salmon for rice balls because it's sticky when it cools. Long-grain rice like jasmine or basmati won't hold together. You can also use brown sushi rice for a healthier option, though it takes longer to cook and has a chewier texture than white sushi rice.
How to make rice balls not fall apart?
Use short-grain sushi salmon rice balls and let it cool to room temperature before shaping. Wet your hands with salted water before touching the rice - this stops it from sticking to your palms. Pack the rice firmly but don't squeeze too hard. If your rice balls keep falling apart, your rice might be too dry or you're using the wrong type of rice.
What is the point of salmon rice balls ?
Rice balls are portable food you can eat with your hands, perfect for lunches and picnics. In Japan, they've been packed in lunch boxes for centuries because they don't need reheating and stay fresh for hours. They're filling, cheap to make, and you can customize them with different fillings based on what you have.
Time to Make Your Own Rice Balls!
You've got Yuki's mom's recipe now - the one she learned from her grandmother in Japan, plus the toasted sesame trick and the hidden salmon rice balls center that makes people wonder what's different about yours. This is the kind of lunch food that makes other kids ask Daniel to trade, which never happened with his old peanut butter sandwiches.
The best part? Once you make these from scratch and taste how much better they are than anything you'd buy, you'll keep sushi salmon rice balls on hand just in case. Yuki got me hooked last spring, and now I make a batch every Sunday for the week's lunches. Even Daniel asks for them, which tells you something.
Want more recipes that work for lunch or dinner? Our Easy Shrimp Scampi Recipe takes 15 minutes and tastes like you spent an hour on it. Craving something filling? Try our Healthy Greek Stuffed Onions that turn onion haters into onion eaters. Or make our The Best Creamy Mushroom Soup when you want something warm that's ready in 30 minutes.
Share your salmon rice balls wins with us! . We want to see your creations, especially if you tried the hidden salmon rice balls center trick.
Rate this recipe and tell us how it went! Did your rice balls hold together?
Related
Looking for other recipes like this? Try these:


Pairing
These are my favorite dishes to serve with salmon rice balls


salmon rice balls
Ingredients
Equipment
Method
- Cook the sushi rice until done, then cool it.
- Mix rice vinegar, sugar, and salt into the rice.
- Flake the cooked or canned salmon and season with soy sauce.
- Combine rice, salmon, sesame seeds, and green onions together.
- Wet your hands and shape the mixture into balls or triangles.
- Optionally, fry the rice balls for a crispy finish.


Leave a Reply